
This tutorial was made and written by my own ideas any resemblance to other tutorials is purely coincidental.
Supplies Needed
Experienced PSP User
Scrapkit: Elana by PolkadotScraps
You can purchase her kit here
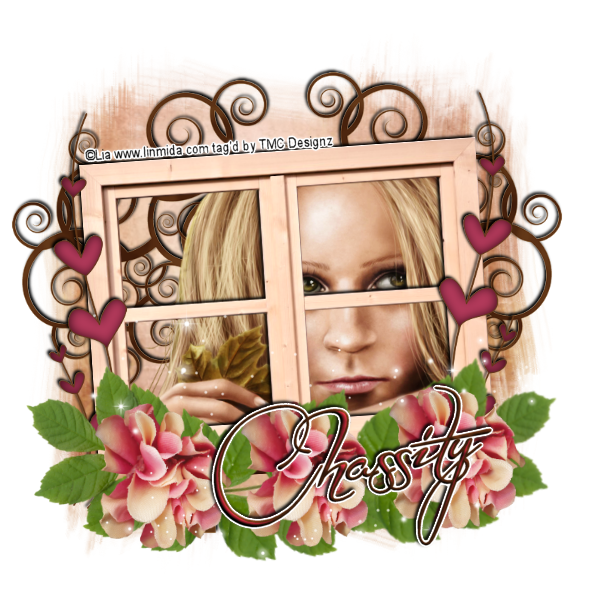
Tube of choice. I'm using artist Lia
You can find her artwork here
Mask117 by weescotslasscreations here
Font of choice. I'm using font called Before the Rain
Plugin: Eye Candy 5-Impact-Gradient Glow
Elements used from kit
PDS_VDE_flower2
PDS_VDE_hearts1
PDS_VDE_leaves1
PDS_VDE_paper5
PDS_VDE_sparkle1
PDS_VDE_tree1
PDS_VDE_window1
Let's get Started
Open new raster 600x600
Copy and Paste window I applied drop shadow
Copy and Paste paper drag to bottom in layer box
Go to layers-load/save mask-load mask from disk
Select mask-right click-merge-merge group
Adjust size to siggy
Copy and Paste tree apply drop shadow drag above mask layer
Duplicate-image-mirror
Copy and Paste tube of choice
Duplicate-double click on copy-change blend mode to soft light
Copy and Paste hearts-duplicate-image-mirror
Copy and Paste leaves duplicate 2x so you now have 3 layers
On 2 of leaves go to image-mirror
Copy and Paste flowers duplicate 2x so you now have 3 layers
Arrange by sample
Add sparkles drag to top in layer box
Add name I applied inner bevel-gradient glow-drop shadow
Add copyright info and we are done!
No comments:
Post a Comment